
- Blog/
- How to Include Barriers in Your Project Planning
How to Include Barriers in Your Project Planning

Details
Category
BarriersConcrete BarriersUsed Barriers
Whether your upcoming project is major road construction, commercial work sites, or something a little more creative, there are a few steps you should take to properly plan for the use of concrete barriers in your project.
Step 1: Build Your Construction Plan
Every successful plan starts with a clear goal. Take the time to define your project. Identify your goals, objectives, and any key stakeholders. The type of project will determine the right barrier for your needs.
Ask yourself if your need is permanent or temporary. Are you using barriers to protect against cars and other heavy equipment? Will your perimeters change throughout the project, or will your barriers stay put once placed? These questions can help narrow down your options as you evaluate the many types of barriers available to you.
For example, if you’re setting up a concert venue or music festival, temporary concrete barriers can help with crowd control and pedestrian flow during the event. Or if you’re overseeing a multi-stage construction project, sturdy Jersey Barriers can form a semi-permanent perimeter around your job site, keeping workers, equipment, and structures safe.
Step 2: Check Regulations and Secure Permissions
The Occupational Safety and Health Administration (OSHA) and National Highway Traffic Safety Administration (NHTSA) both implement guidelines around using barriers in projects. Take a look at the relevant regulations to ensure your project is compliant.
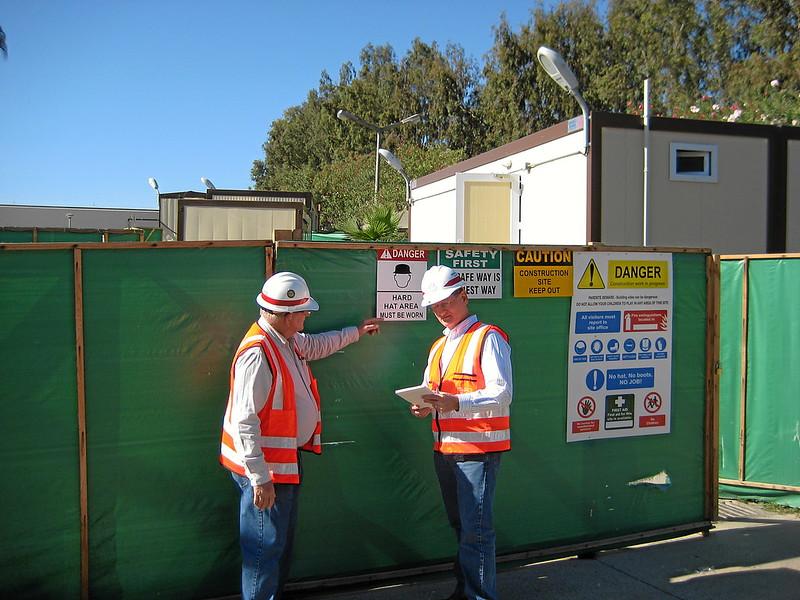
If you’re using concrete barriers to surround a construction job site, OSHA stipulates that the barriers not only need to be clearly identified and marked, but also that they are stable and durable to adequately protect workers and structures. It is also important to consider ingress and egress — where are the entry and exit points in your project? Are there adequate exits for equipment and workers to move without obstacles in the event of an emergency? Are your entrances and exits big enough for equipment to move through?
Beyond standard regulations, check with your state and local building authorities to ensure that you are securing the proper permissions for your project. Whether that’s licenses for building or permission for road closures, anticipating these needs ahead of time will help your project progress without a hitch.
Step 3: Do the Math
Now that you’ve built your project plan and have your needs in mind, you can calculate how many barriers you’ll need. Start by measuring the perimeter of the space you have in mind. Be sure to subtract plenty of room for entrances and exits. Divide this measurement by the length of your chosen barrier — plus spacing — to get an idea of how many barriers you’ll need. (Be sure to build in a little bit of a buffer, too! Accidents happen, and you don’t want to compromise your project if a barrier is damaged or fails during installation.)
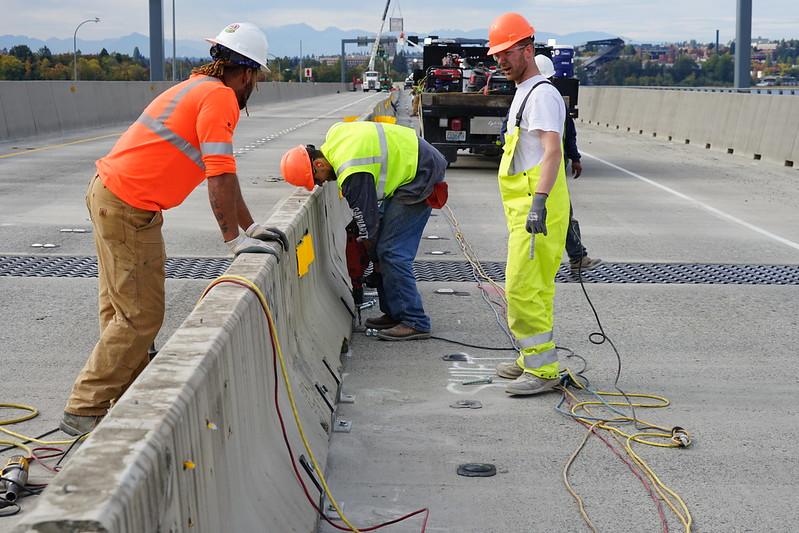
Remember to keep your project objectives in mind. If barrier stability and defense against traffic is paramount, consider linking your barriers together or staking them to the ground. These steps increase the stability of your barriers, but also require a few considerations. To stake your barriers, you might need to pre-drill holes for the steel anchor pins. If you plan to link your barriers, they will need to be close together, so adjust your measurements accordingly.
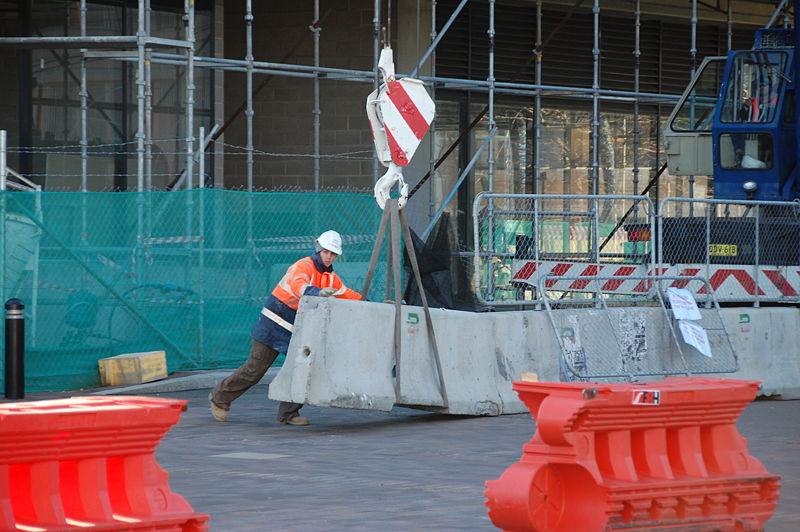
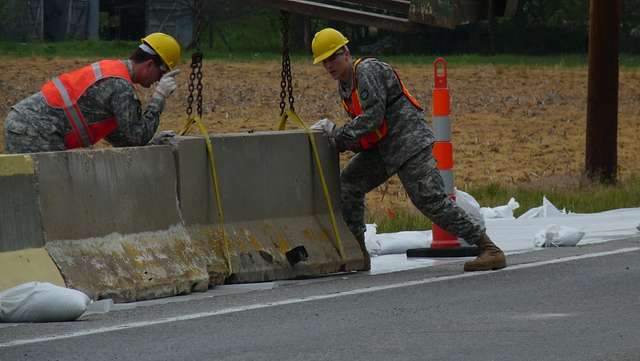
During this step, be sure to consider the logistics of placing the barriers — have you left enough room for equipment to move about? Take the time to research the right tools for placing your barriers and the amount of space they need. Barrier lifts are the recommended way to move barriers, but skid steers and forklifts can also be used.
Step 4: Material Takeoff and Budget
Your Material Takeoff (MTO) is a comprehensive list of all the materials needed for your project. Once you’ve completed the steps above, you’re ready to build your barrier needs into your budget.
As you build your budget, remember that, depending on your project, buying used barriers or renting barriers can help you keep costs in check. Working with barrier experts like the ones at 48 Barriers can help you find cost-saving opportunities that still meet the unique needs of your project.
Step 5: Set a Timeline
Revisiting your construction plan from Step 1 will help you identify the best time to install your barriers. Typically, construction site barriers will need to be placed very early in the project to keep workers and equipment safe. However, in places where barriers control the flow of pedestrian traffic, like in music venues, they can be installed later in your timeline so they don’t block equipment pathways during construction.
When you’ve determined your timeline, place your order. Ideally, giving your vendor a month’s notice to get a quote and secure inventory is ideal, but many vendors are able to work on a shorter timeline for urgent needs or quick turnarounds. Looping your vendor in early helps them prepare to be ready when you are.
After you’ve placed your order, take the time to prepare your job site for barrier arrival. Leveling and compacting ground enhances security and stability for your barriers — plus, utilizing this downtime speeds up your project timeline, helping you reach the finish line faster!
At any step during the process, 48 Barriers can be your trusted advisor, guiding you through your barrier project from planning to delivery. Ready to get started? Give us a call today.