Concrete Jersey barriers are the go-to choice for many construction, roadway, and perimeter security projects. The heavy, durable nature of concrete makes these barriers a great choice for permanent or long-term security and safety needs. However, these same qualities also make them very difficult to move. So, what happens when you have to move your barriers? Fortunately, barriers can easily be installed, moved, or replaced with the right equipment and a solid (pardon the pun!) installation plan, as detailed in this guide below.
Start with Your Project Plan
No matter what project you’re undertaking, it’s always helpful to start with a project plan. These plans define your goals; ensure you have the permits, supplies, equipment, and crew you need; and help you stay on budget. Building your barrier needs into your project plan will help you avoid surprise expenses or delays later in your project.
Once you have an idea of how many barriers you’ll need, where they need to be placed, and when you’ll need them, you can start the installation process.
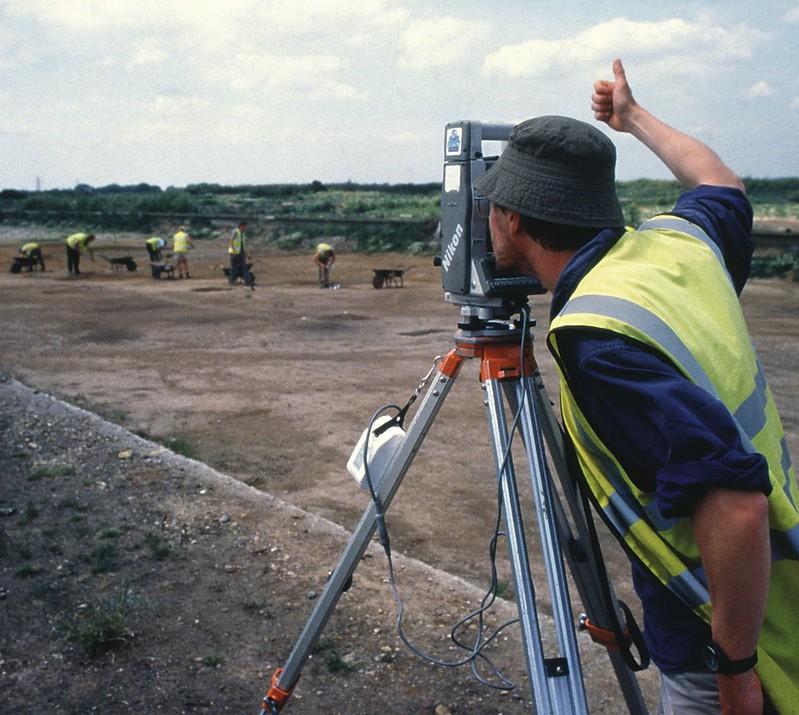
Step 1: Assess Your Site
As they say, failing to plan is planning to fail. Take a little extra time to conduct a site assessment. Analyze traffic flow, pedestrian movements, and road designs. All of these factors influence the type, size, number, and placement of barriers needed for your project. While you’re conducting your site assessment, be sure to carry out a risk assessment. Anticipate how you will address any obstacles or hazards that might impact your plan.
As you determine where you’ll place your barriers, be sure to account for ingress and egress points for pedestrians, traffic, and other heavy machinery. Some of this may be determined by regulations, so take a moment to check that you’re in compliance before proceeding. You’ll also want to ensure that any machinery or workers needed for the installation have ample room to navigate around the workspace.

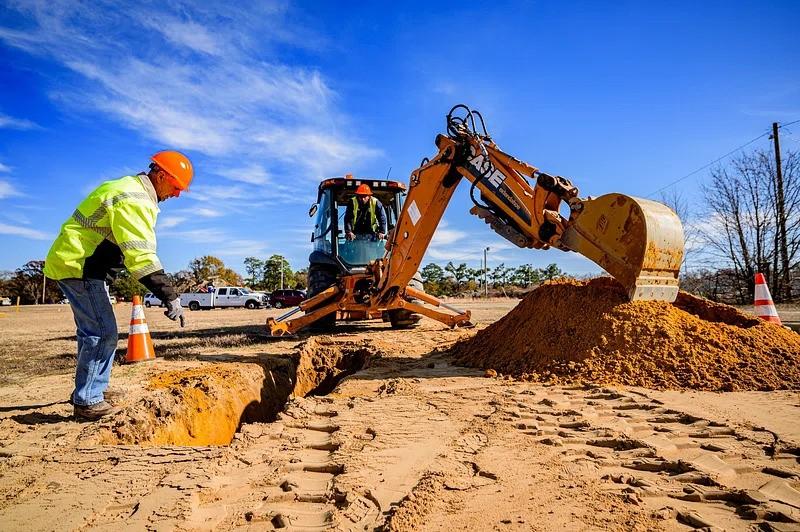
Step 2: Pick the Right Equipment
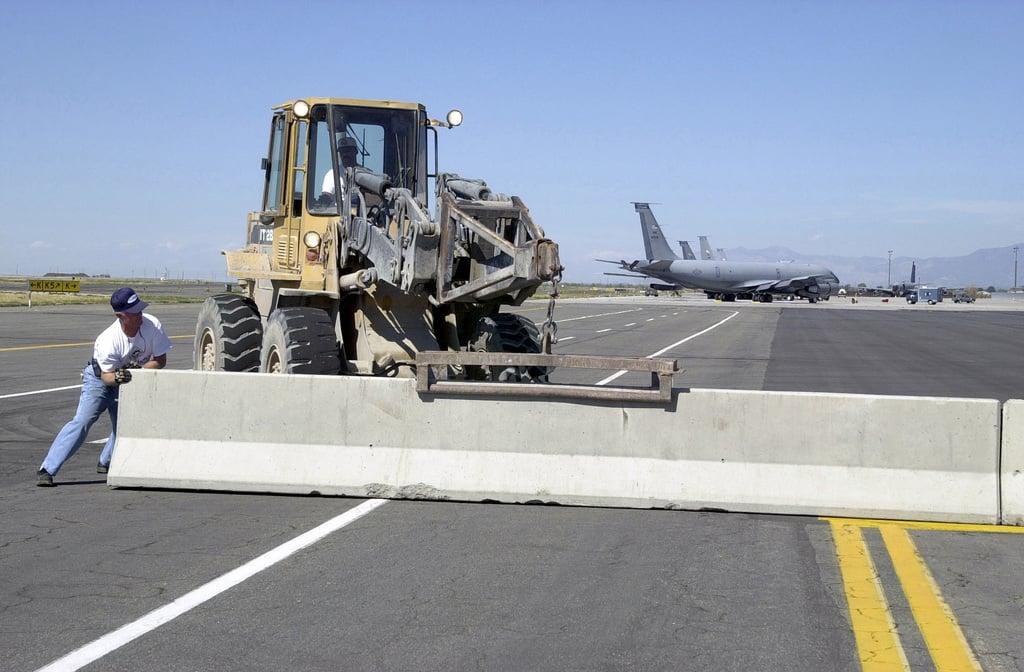
Concrete barriers are dense and immensely heavy. They should not be moved by hand, as the potential for injury is high. Fortunately, a number of machines can help you move barriers safely. Most standard Jersey barriers are designed with either two forklift slots or a single center drainage slot along their bottom so they can be lifted by a forklift. However, in most cases, a barrier lift is the most efficient and effective way to lift barriers. Barrier lifts, or barrier clamps, are attachments that grip the smooth face of the barrier and lift it up for placement.
In some applications, a zipper machine can be used to shift a large line of barriers. Zipper machines, also called barrier transfer machines, are typically only used when moving a line of lane dividers that are specifically designed for this transportation method. These highly specialized machines use an S-shaped conveyor belt to lift up each barrier and transfer it to the other side of a lane.
Step 3: Place Your Barriers
Be sure that your site is cleared and prepped before placing any barriers. Heavy concrete barriers need to sit on stable, flat ground so they don’t tip over. Clear or compact loose soil, and level ground where necessary. While you are prepping your site, this is also a good time to lay new routes in and out of the premises, including temporary traffic pathways while crews are in the process of installing barriers.
When you’re ready to lift and place your barriers, move one barrier at a time. Inspect each barrier for any signs of structural weakness, cracks, or damage before lifting. Lift in one swift motion, and avoid jerky motions that could destabilize the load. Secure barriers with straps, chains, or restraints to prevent shifting or falling during transit. When placing barriers, use smooth motions and gently place the barrier into position.
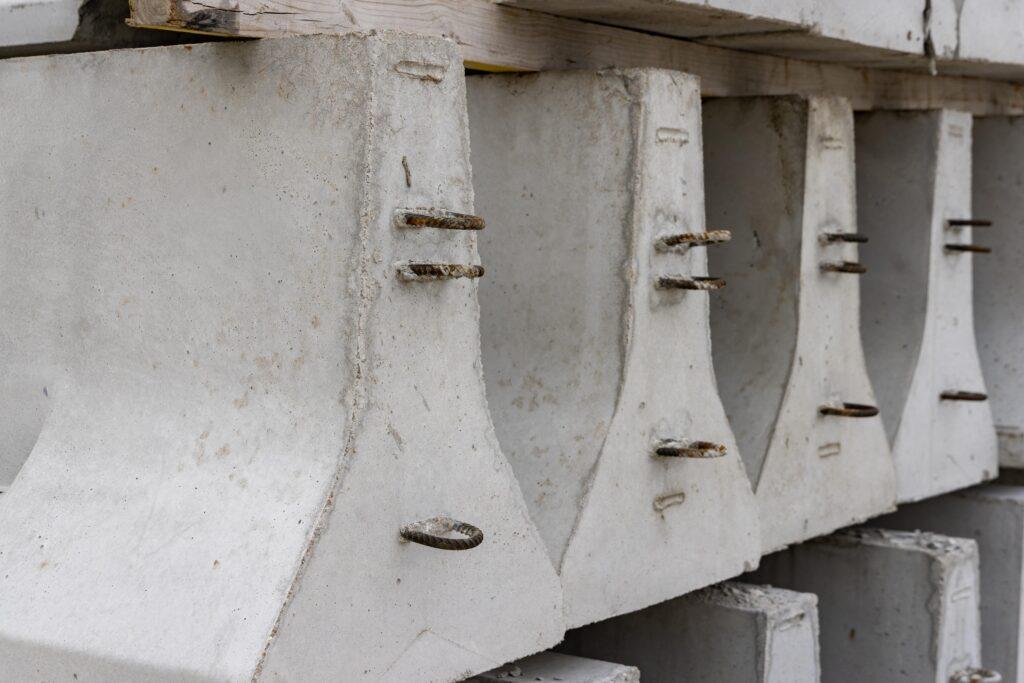
Step 4: Anchoring and Linking
A standalone barrier is strong and secure thanks to the durable nature and heavy weight of concrete. However, if your project necessitates additional stabilization, consider anchoring your barriers. Most Jersey barriers can be stabilized or linked together with barrier pins. These large metal stakes can be slid into the metal loops on barrier edges to link them together. These pins can also be driven into the ground for further stability. Some Jersey barrier styles even have precast holes near the base of the barrier, allowing pins to be driven diagonally through the barrier and into the pavement beneath. No matter the method, anchoring barriers adds a layer of stability during high-impact collisions, leading to a longer-lasting, more effective barrier.
This final stage is an excellent opportunity to assess any additional safety needs. Review your findings from the risk assessment step. What hazards are your barriers subject to? Additions like reflective tape, signage, and lighting that enhance visibility can bolster the effectiveness of your barriers.
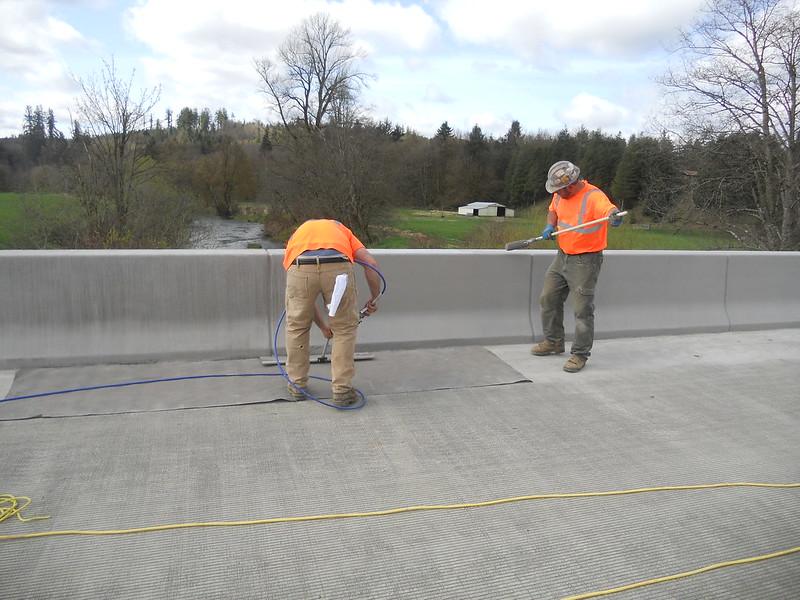
Maintaining, Repairing, and Replacing Barriers
Concrete is highly durable and can last decades or even centuries if cared for. However, barriers are frequently exposed to harsh elements and subject to collisions and impacts that may damage, degrade, or crack them. Often, these are merely cosmetic, but occasionally these imperfections require repair or replacement. When replacing barriers, follow the same installation steps detailed above.
In addition to inspecting barriers for damage, you should periodically survey the environment surrounding your barriers. Look for shifting soils, washed out ground, or uneven landscape, as these factors could affect your barrier’s stability. Additionally, keep nearby vegetation under control. This preserves visibility and allows crews to easily access your barriers for maintenance and repair.
Removing Barriers
Not all projects are permanent. When you no longer need your barriers — or, even rarer, if your barriers have reached the end of their life — you will need to remove them. First, make sure you know where your barriers are going. If they are heading to your own storage facility or another worksite, prepare the area so it’s ready to receive your barriers. If you no longer have a need for your barriers, 48 Barriers can buy back your used barriers and arrange transportation to relocate them. Please reach out to see if we can work out a solution!
Ensure any anchors and barrier pins are removed. If your barriers were forming a perimeter or separating high-traffic areas, consider enacting temporary security measures during the transition. Temporary steel fencing can mark perimeters, steel roadplates can cover holes in paving, and security cameras can help keep sites safe as you move or remove barriers.
—
Concrete barriers are known for their strength, weight, and durability — all features that make them incredibly difficult to move. However, installing, replacing, and removing concrete barriers can be a fairly straightforward process with proper preparation. Assessing your site, acquiring the right equipment, properly placing and securing your barriers, and keeping up with maintenance all ensure a smooth installation process. Companies like 48 Barriers not only supply barriers, but also buy used barriers when you no longer need them. Contact us today to see how we can help with your barrier needs.


